

Set Up Smart Lights for Beginners: A Simple Guide
Table of Contents
- Understanding Smart Lighting Technology Before You Start
- Choosing Between Wi-Fi, Zigbee, and Z-Wave Protocols
- What You'll Need to Set Up Smart Lights
- Step-by-Step Installation and Configuration
- How to Connect Smart Lights to Alexa or Google Home
- Smart Lighting Hub vs. Wi-Fi Bulbs: Which Should You Choose
- Troubleshooting Smart Light Connection Issues
- Creating Schedules, Scenes, and Automation
Last Updated: August 27, 2026
Understanding Smart Lighting Technology Before You Start
Smart lighting systems use wireless connectivity to control bulbs and fixtures remotely, schedule them automatically, and integrate with voice assistants. The appeal extends beyond convenience to energy savings and customization that traditional lighting cannot match.
According to MarketsandMarkets 2025 research, the smart lighting market in the U.S. was valued at $1,847.0 million in 2025 and is projected to reach $2,498.9 million by 2030, growing at a compound annual growth rate of 6.2% (marketsandmarkets.com). This growth reflects real demand from homeowners seeking lower electricity bills, better home security, and customizable ambiance.
Any smart lighting setup rests on three core components: smart bulbs or fixtures, a wireless protocol for communication, and either a dedicated hub or Wi-Fi connection for control.
Choosing Between Wi-Fi, Zigbee, and Z-Wave Protocols
The wireless protocol you choose determines how your smart lights communicate with your phone, hub, and voice assistant. This decision affects reliability, range, battery life, and whether you need a hub.
Wi-Fi bulbs connect directly to your home router without requiring a separate hub. Brands like LIFX use Wi-Fi. The advantage is simplicity: download the app, add the bulb, and you're done. The downside is that Wi-Fi is power-hungry, so Wi-Fi bulbs must be hardwired into ceiling fixtures. Wi-Fi also adds traffic to your home network, potentially causing slowdowns with dozens of connected devices.
Zigbee is a low-power wireless standard designed for home automation. Zigbee devices require a hub (like Philips Hue Bridge or SmartThings hub) to communicate with your phone and voice assistants. The benefit is that Zigbee creates a mesh network where each device acts as a repeater, extending signal further into your home. This means better reliability in larger homes or properties with thick walls. Zigbee devices use far less power, making them ideal for battery-operated smart switches and motion sensors.
Z-Wave operates similarly to Zigbee on a different frequency band. It also requires a hub and creates a mesh network. Z-Wave has slightly better range in some environments and strong support from brands like GE Enbrighten and Inovelli, but Z-Wave devices tend to be more expensive than Zigbee equivalents.
What You'll Need to Set Up Smart Lights
Smart bulbs or fixtures. Options range from simple dimmable white bulbs ($15-40 each) to color-changing bulbs ($30-80 each). ShopVerse.life carries curated options, including the 144 LED USB Wall Decoration Lights Willow Vine Branch Lights at $44.02 for ambient lighting, and the modern gold/black LED acrylic wall sconce at $61.86 for sophisticated home decor.


A compatible hub (for Zigbee or Z-Wave). If you choose Wi-Fi bulbs, you skip this. For Zigbee or Z-Wave, you'll need a hub like Philips Hue Bridge, Samsung SmartThings Hub, or Amazon Echo devices that support Zigbee.
A smartphone with the manufacturer's app. Every smart lighting brand requires a mobile application for setup and control. Download the app before purchasing to check reviews and ensure regular updates.
Wi-Fi router or mesh network. A stable internet connection is essential. If using Wi-Fi bulbs, they'll compete for bandwidth with other devices. Weak signals in certain rooms warrant a mesh router upgrade before adding smart lights.
A voice assistant (optional but recommended). Alexa, Google Assistant, or Apple Siri integration enables voice control. Most smart bulbs work with at least two of the three major platforms.
| Component | Purpose | Cost Range | Required |
|---|---|---|---|
| Smart bulbs | Light sources you control remotely | $15-80 each | Yes |
| Hub | Central controller (Zigbee/Z-Wave only) | $50-150 | Only for Zigbee/Z-Wave |
| Mobile app | Setup and daily control | Free | Yes |
| Wi-Fi/mesh router | Network connectivity | $50-300 | Yes |
| Voice assistant | Hands-free control | $25-200 | No |
Most beginners spend $100-300 to set up a single room. A complete home retrofit typically runs $500-1,500 depending on the number of fixtures and bulb type.
Step-by-Step Installation and Configuration
Step 1: Install the Bulbs or Fixtures
Turn off power at the wall switch or breaker before touching any existing fixtures. This is the single most important safety step.
Remove your old bulb and inspect the socket. Smart bulbs fit standard E26 sockets (most common in North America) or specialty sockets like GU10 or BR30. Check your fixture's documentation to confirm compatibility before purchasing.
Screw in your smart bulb by hand without excessive force. Smart bulbs are more delicate than incandescent bulbs, and over-tightening can damage the electronics. Once installed, turn the power back on.
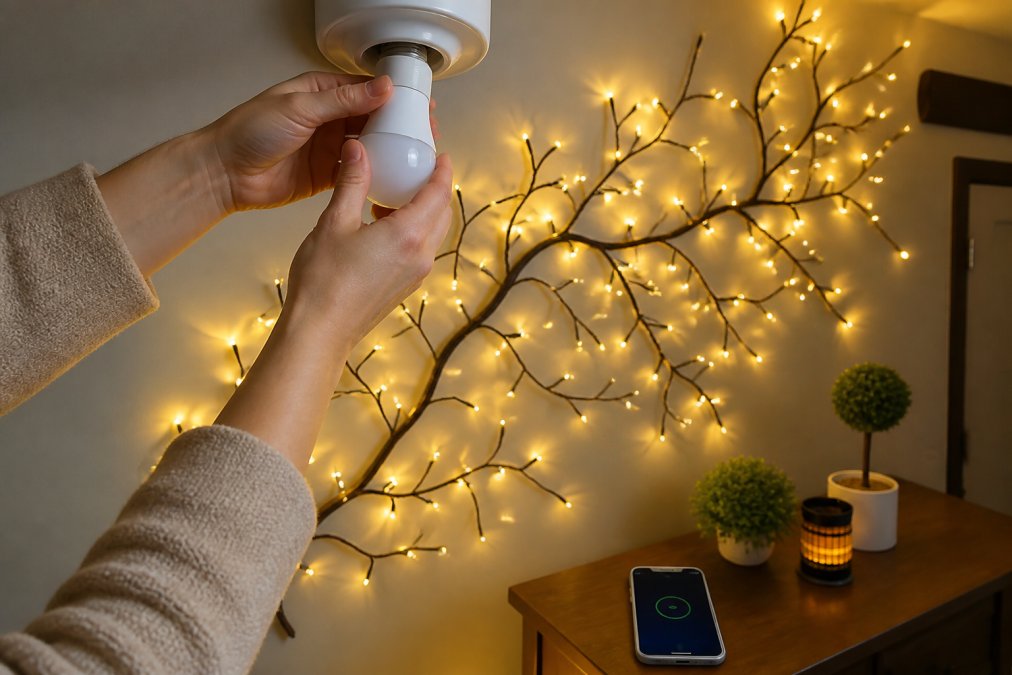
If installing a smart switch instead of individual bulbs, turn off power at the breaker and follow the manufacturer's wiring diagram carefully. Smart switches require proper neutral wire connections; homes built before 2000 may lack a neutral wire in the switch box, eliminating some switch options. In that case, stick with smart bulbs.
Step 2: Download and Set Up the Mobile Application
Open your phone's app store and download the official app for your smart bulb brand. Create an account using your email address and verify it.
Launch the app and look for an "Add Device" or "Pair" button. The app will prompt you to enter your Wi-Fi network name and password (for Wi-Fi bulbs) or enter pairing mode (for Zigbee/Z-Wave bulbs).
For Wi-Fi bulbs, the bulb typically enters pairing mode automatically when powered on for the first time. The app will search for nearby devices and you'll select your bulb from the list.
For Zigbee or Z-Wave bulbs, open your hub's app first. Access the hub's pairing mode, then power on the bulb. The hub will detect and add it to your network within 10-30 seconds.
Name each bulb descriptively, "Bedroom Ceiling," "Kitchen Island," "Living Room Corner", rather than generic names. This makes voice control intuitive.
Step 3: Add Devices to Your Smart Home Ecosystem
Once your bulbs are paired to their native app, add them to a broader smart home ecosystem for automation, scheduling, and voice control.
If using a hub like SmartThings or Philips Hue Bridge, open that hub's app and add your lights as new devices. The hub will detect compatible lights and allow you to assign them to rooms.
If using voice assistants like Alexa or Google Home, open the voice assistant app. Navigate to "Devices" or "Home" and select "Add Device." Choose "Light" as the device type, then search for your smart bulb brand. Authorize the connection, and your lights appear in the voice assistant app.
How to Connect Smart Lights to Alexa or Google Home
For Alexa: Open the Alexa app and navigate to "Devices" at the bottom. Tap the plus icon to add a device. Select "Light" and search for your bulb brand. Tap "Enable" or "Link Account," enter your smart bulb account credentials, and authorize the connection. Alexa will import all your lights and rooms. calm home environment.
For Google Home: Open the Google Home app and tap the plus icon. Select "Set up device" and choose "Works with Google." Search for your smart bulb brand, tap it, then tap "Link" and enter your account credentials. Authorize the connection, and Google Home will import your lights.
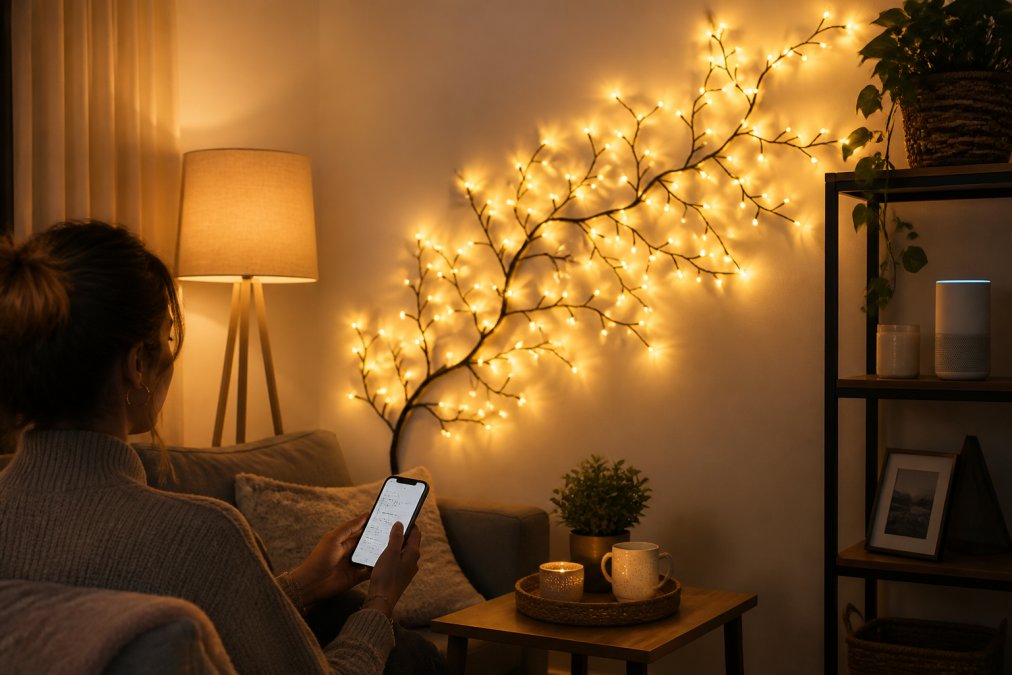
Once connected, control lights by voice: "Alexa, turn on the bedroom light," "Google, dim the living room to 50%," or "Alexa, set the kitchen light to warm white."
If a voice assistant can't find your bulb brand, check the manufacturer's website to confirm compatibility. Some brands work with Alexa but not Google Home, and vice versa.
Smart Lighting Hub vs. Wi-Fi Bulbs: Which Should You Choose
Wi-Fi bulbs connect directly to your home router. Setup is faster, and you don't need a separate hub, saving $50-150. They work immediately with any voice assistant that supports your brand. The downside is that Wi-Fi uses more power, so Wi-Fi bulbs must be hardwired. They also add traffic to your home network; 20+ Wi-Fi devices can cause slowdowns.
Hub-based systems (Zigbee or Z-Wave) require a hub purchase but offer significant benefits. The hub creates a mesh network where each bulb acts as a repeater, extending coverage throughout your home. This means better reliability in larger homes or properties with thick walls. Hub-based bulbs use less power, enabling battery-powered smart switches and motion sensors. The control systems segment accounted for 54.1% of the smart lighting market in 2026, reflecting strong demand for hub-based reliability (marketsandmarkets.com).
For most beginners, start with Wi-Fi bulbs. They're simpler and cheaper upfront, perfect for single-room setups. As you expand and encounter range or reliability issues, migrate to a hub-based system. For larger homes or multi-story properties, a hub-based approach is worth the initial investment. Zigbee offers the best balance of cost and reliability.
Troubleshooting Smart Light Connection Issues
The bulb won't pair to the app. Confirm the bulb is powered on and within range of your router or hub (typically 30-100 feet). Restart the pairing process and ensure the bulb is in pairing mode. Power cycle the bulb by turning off the wall switch for 10 seconds, then try pairing again.
The app sees the bulb, but it goes offline after a few minutes. This usually indicates weak Wi-Fi signal. Check your router's signal strength using a Wi-Fi analyzer app. If the signal is below -70 dBm, move your router closer or add a mesh Wi-Fi extender. For hub-based systems, ensure the hub has a strong connection to your router.
Voice assistant can't find the bulbs. Verify that your smart bulb account is linked to the voice assistant app. Open the voice assistant app and check that your smart bulb brand is listed under "Connected Services." If not, re-link the account.
Bulbs respond slowly to voice commands. Latency typically indicates network congestion. Close other bandwidth-consuming apps or upgrade to a mesh Wi-Fi system. For hub-based systems, move the hub to a more central location.
One bulb keeps disconnecting while others stay connected. That bulb may be at the edge of your network's range. Move it closer to the hub or router, or add another bulb between it and the hub to extend the mesh network. If still unreliable, the bulb may be defective; contact the manufacturer.
Creating Schedules, Scenes, and Automation
Once your lights are connected and responding reliably, automation becomes genuinely useful.
Schedules turn lights on and off at specific times. Open your smart bulb app and find the "Schedule" or "Automation" section. Create a schedule to turn on your bedroom light at 6:30 AM on weekdays. You can set sunrise and sunset triggers that automatically adjust based on your location's actual sunrise time, perfect for seasonal changes.
Scenes are preset combinations of brightness and color activated with a single tap or voice command. Create a "Movie Night" scene that dims all living room lights to 20% brightness and shifts them to warm white. Create a "Bedtime" scene that turns off all lights except the bedroom at 10% brightness.
Geofencing automation triggers lights based on your phone's location. Set lights to turn on automatically when you arrive home and turn off when everyone leaves.
Smart lighting systems can reduce energy consumption by up to 35-70% compared to conventional lighting. Much of that savings comes from automation; lights turn off automatically when you forget, and dimming reduces energy draw significantly.
Start with one simple schedule or scene. Once comfortable with the interface, experiment with more complex automations.
Setting up smart lights for beginners doesn't require technical expertise, only patience and a methodical approach. ShopVerse.life offers curated smart lighting products like the Magnetic Rechargeable 50 Wall Lamp at $52.98 for flexible, wire-free installation, plus the Wake Up Light Sunrise Alarm Clock at $51.54 for integrated smart lighting and sleep optimization. Start with one room, choose your wireless protocol based on your home's size and layout, and expand gradually as you gain confidence. The process becomes intuitive quickly, and the energy savings and convenience make the effort worthwhile. Get started with ShopVerse.life's carefully selected smart lighting collection and transform how you control light in your home.

===
Frequently Asked Questions
Q: Do I need a hub to set up smart lights?
A: Not always. Wi-Fi smart bulbs connect directly to your home network without a hub, making them simpler for beginners. However, a smart lighting hub is required for Zigbee and Z-Wave devices. Hubs offer better mesh network coverage, more reliable connectivity, and lower latency. The control systems segment, which includes hubs and connected control systems, accounted for 54.1% of the smart lighting market in 2026, showing their growing importance in smart home ecosystems.
Q: How do smart lights help reduce my electric bill?
A: Smart lighting systems can reduce energy consumption by up to 35-70% compared to conventional lighting. Smart LED bulbs last 15,000 to 50,000 hours versus just 1,000 hours for incandescent bulbs, cutting replacement costs. Automation features like sunset and sunrise triggers, geofencing, and scheduling ensure lights run only when needed.
Q: What should I do if my smart lights won't connect to Wi-Fi?
A: First, ensure your bulbs are in pairing mode and your phone is on the same Wi-Fi network as your lights. Restart your router and the mobile application. Check for firmware updates in your app, as outdated firmware can cause connectivity issues. Verify your Wi-Fi signal strength in the installation area. If problems persist, try connecting from closer to the router, then move the lights to their final location once paired. For persistent issues, reset the bulbs to factory settings and repeat the pairing process.
Q: Can I control smart lights if my internet goes down?
A: Wi-Fi bulbs require internet for remote access and voice control, but most allow local control through the mobile application if your phone is on the same network. Zigbee and Z-Wave devices maintain local connectivity through the mesh network, so you can control them with a physical switch or local app even without internet. Voice assistants won't work offline. For uninterrupted control during outages, hub-based systems offer better resilience than direct Wi-Fi connections.
This article was written using GrandRanker